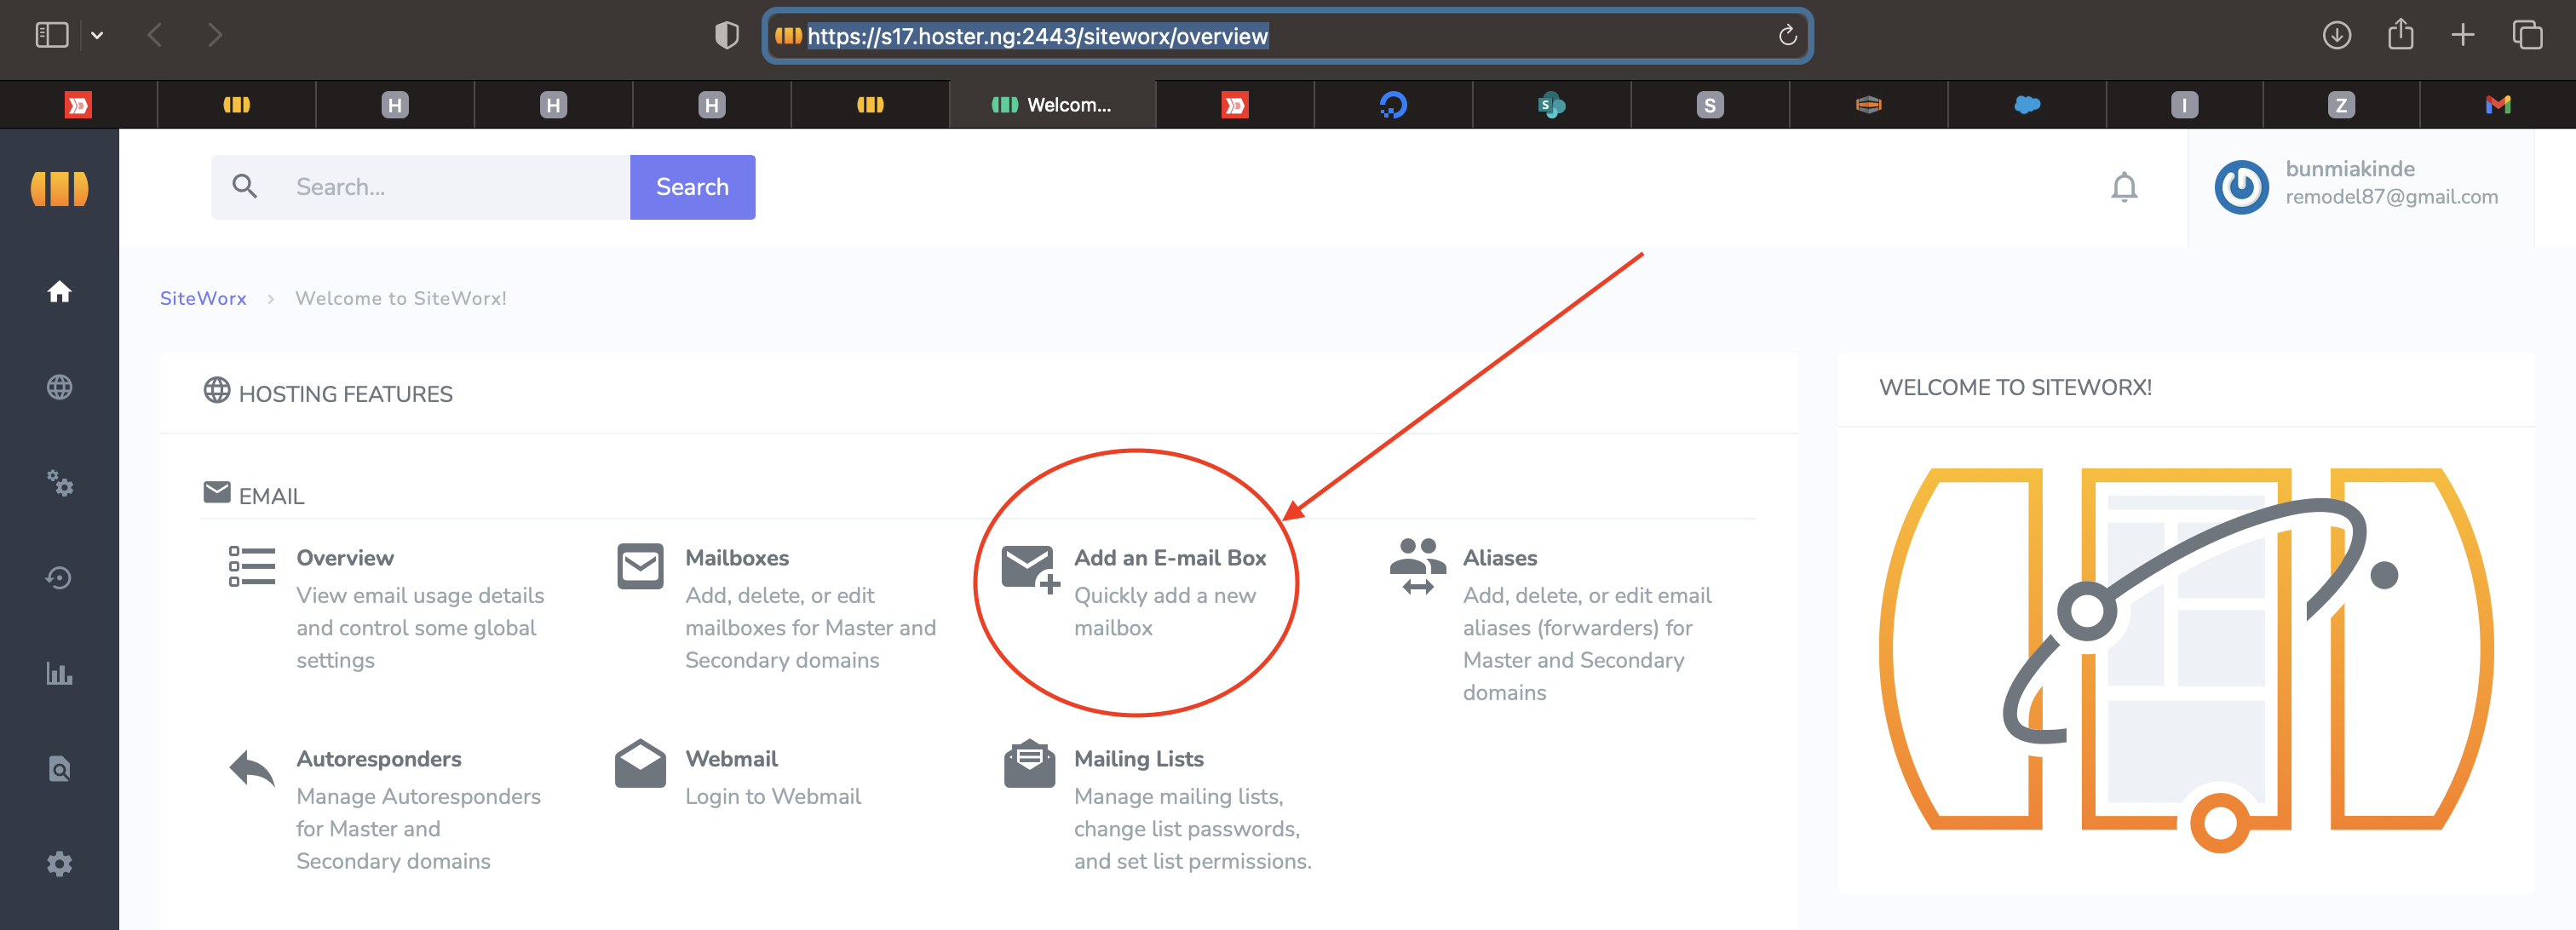
It is quite easy to create and manage your hosting account on Hoster.ng using the Hosting Admin Panel - Siteworx. The Admin Panel has all the options you may want to use to administer your hosting account. Options like Emails, Domains, FTP & Online File Manager, MySQL Databases, Backups etc.. This guide is made to ensure you do not miss your way.
This guide assume you already have a Web Hosting account with Hoster.ng. If you do not have an hosting account yet, you may want to set that up first. If you have an hosting account, then follow the steps below to login to your hosting account Admin Panel on Hoster.ng.
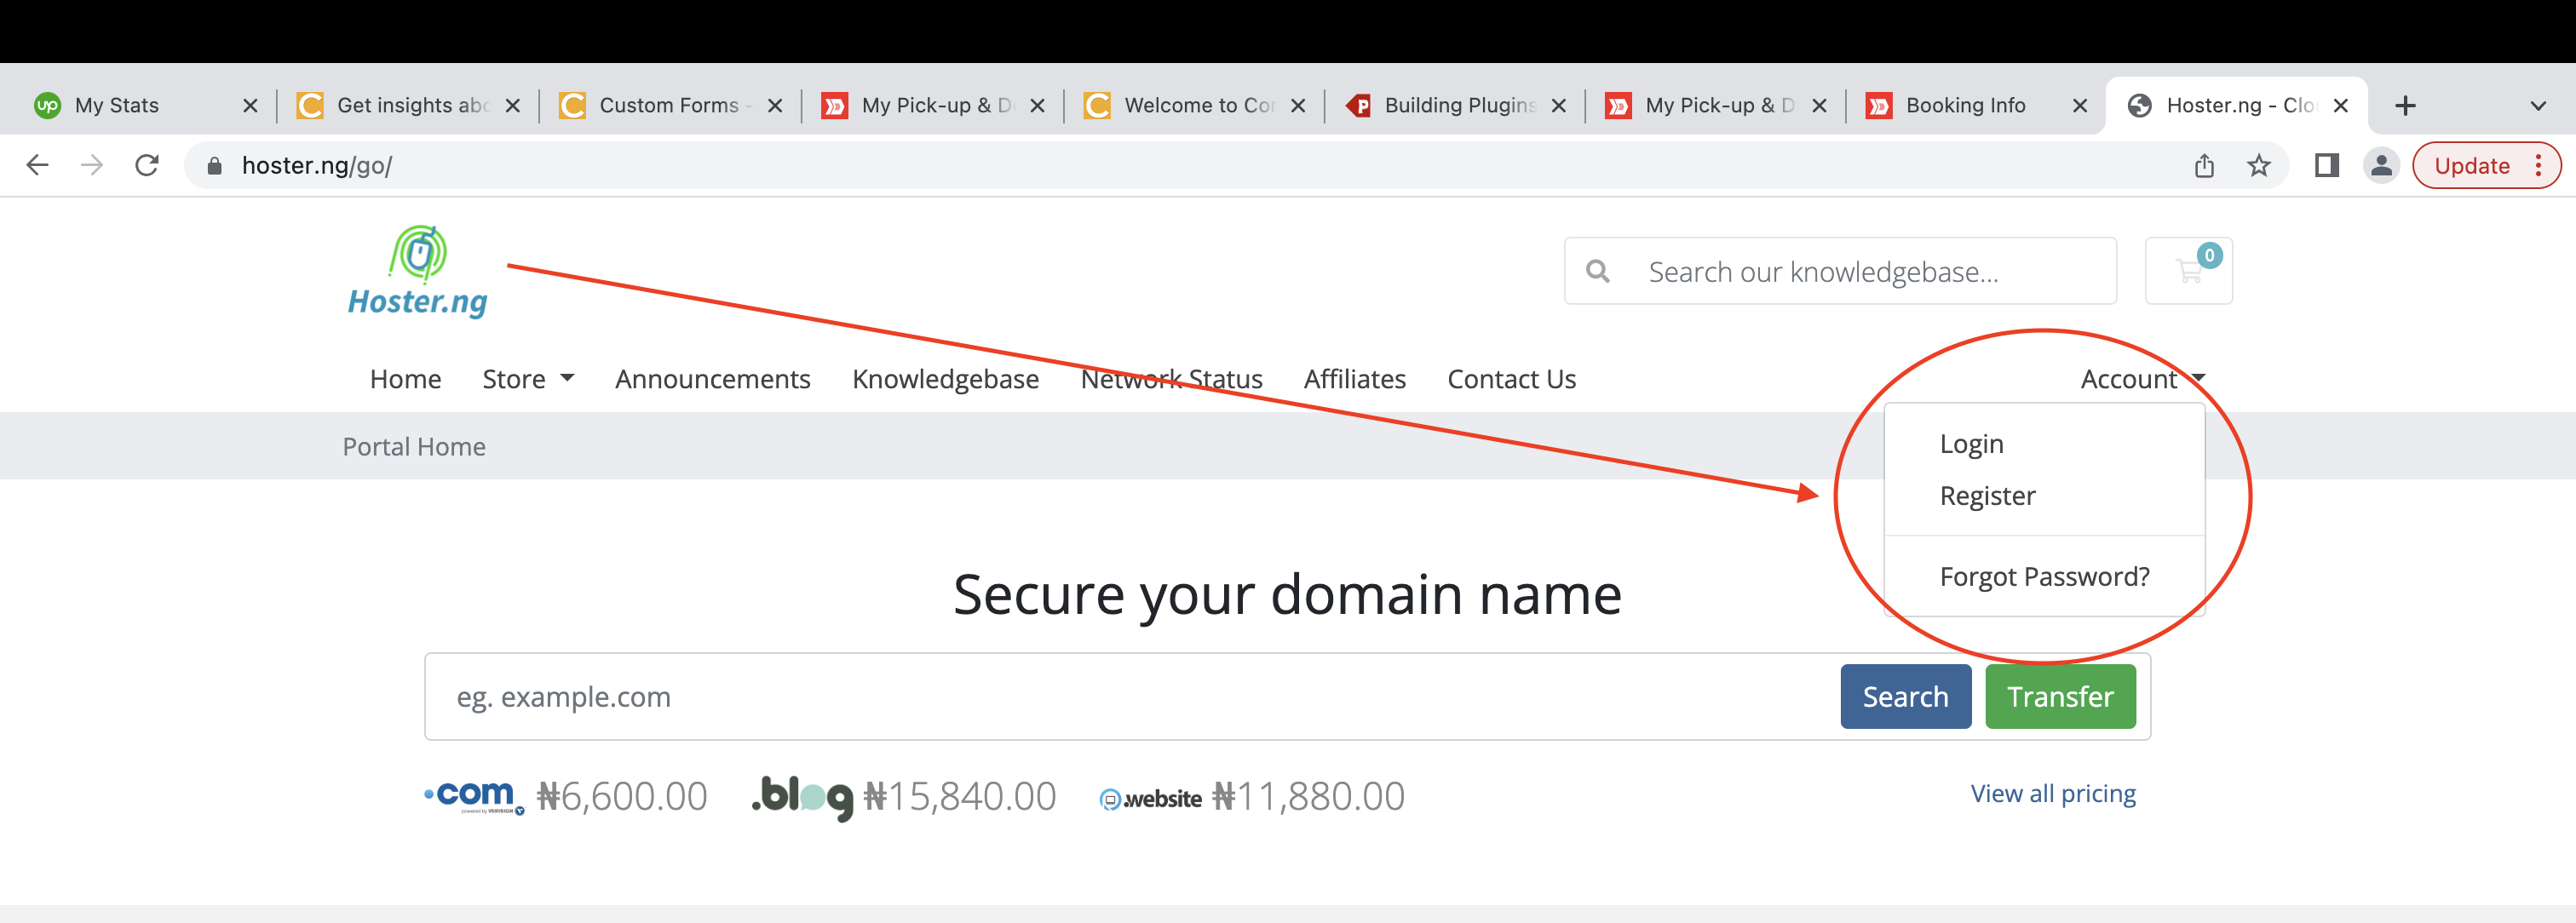
- Go to Hoster home page. The Hoster home page is at www.hoster.ng
- Login to Your Hoster Account using your email address and password. If you do not know/remember your password, use your email address to reset password, so the password can be sent to your email. The email address to use here would be where you get Hoster Hosting Account Email Notifications. Remember to check your spam if you are looking for Hoster.ng email notifications.
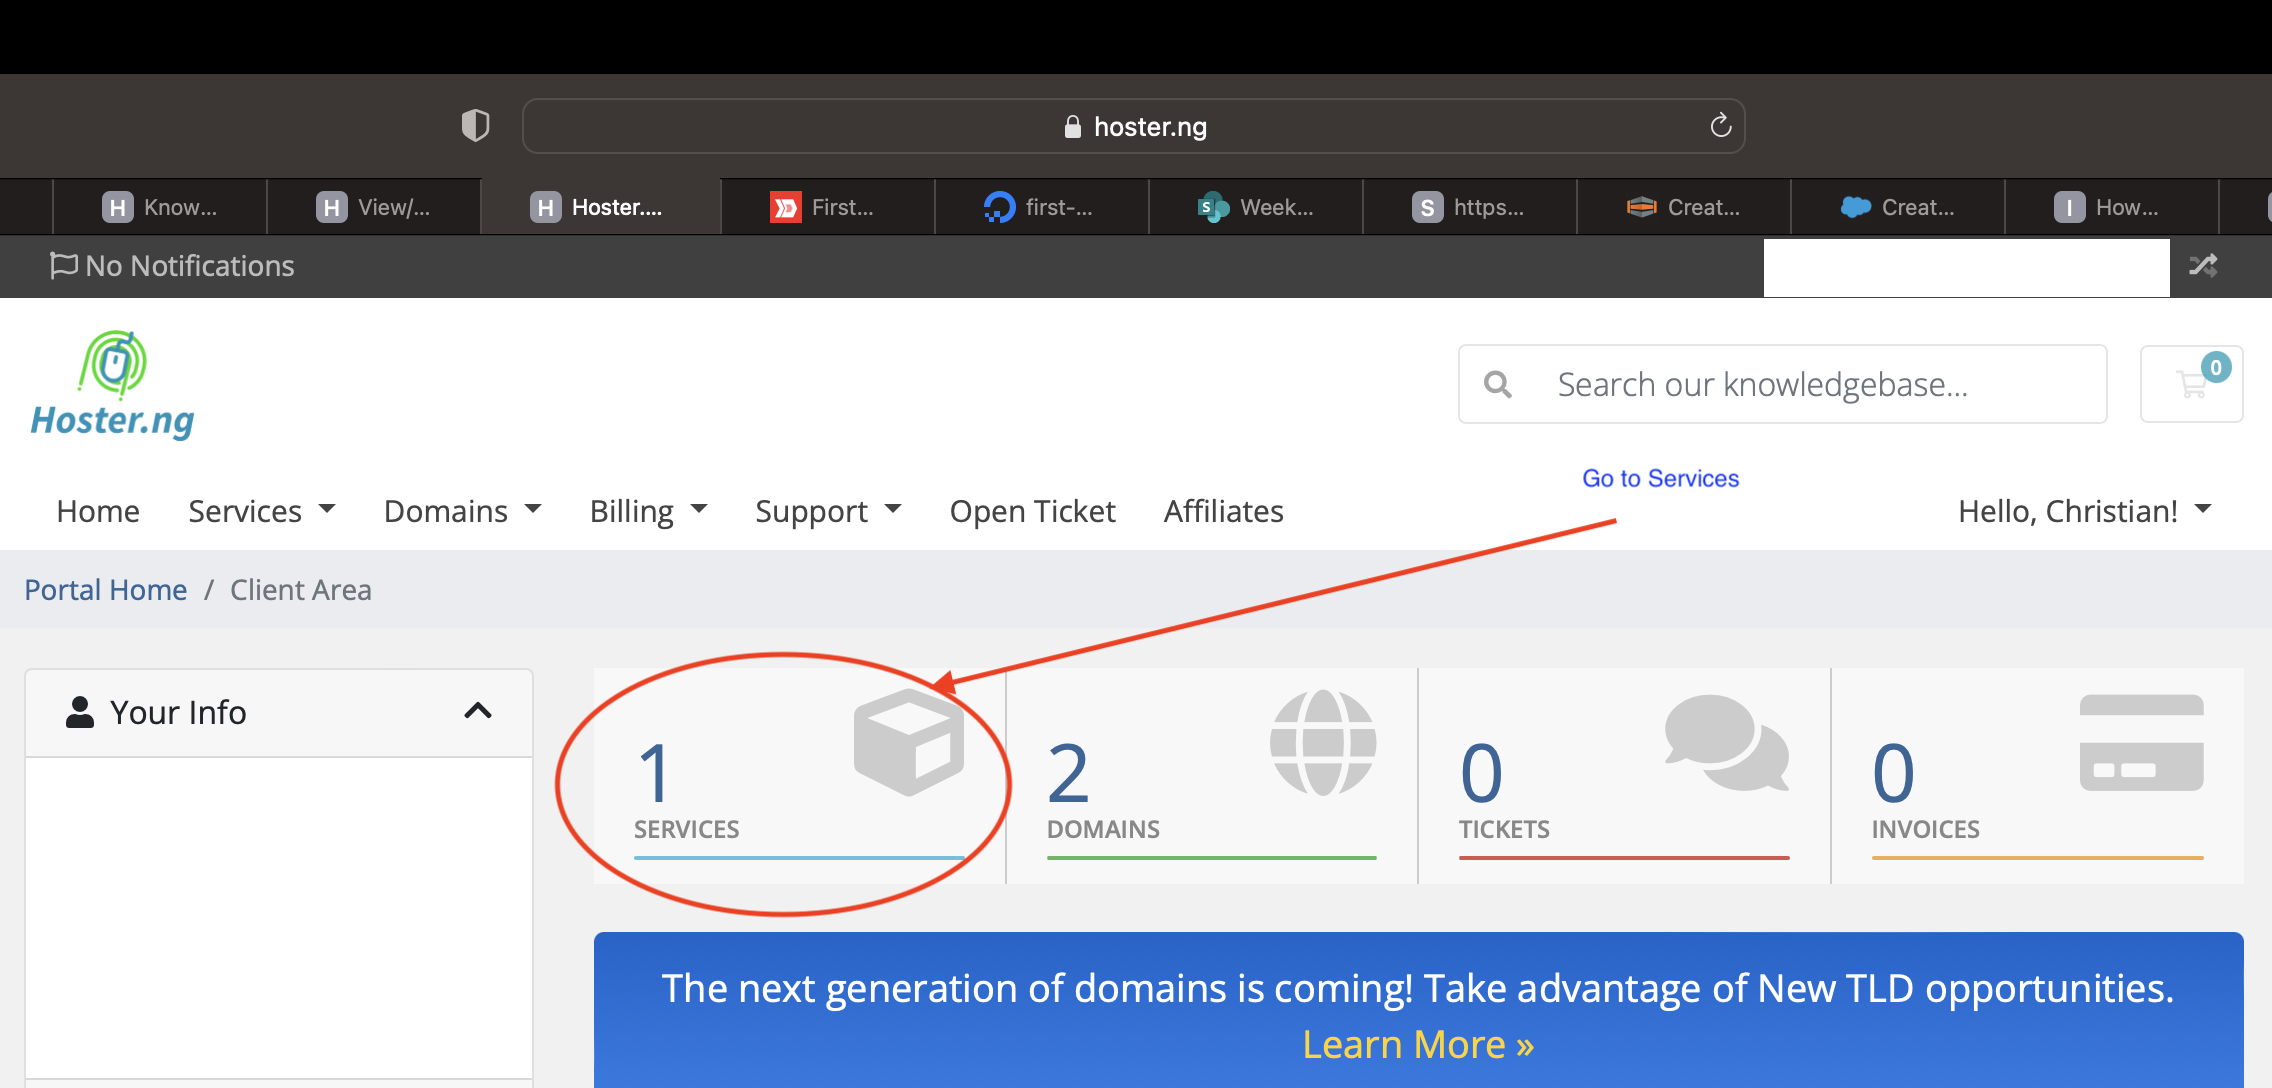
- After Logging in, you will be redirected to the Account Dashboard. On this dashboard, you should go to the "Services" page where all your hosting accounts would be listed.
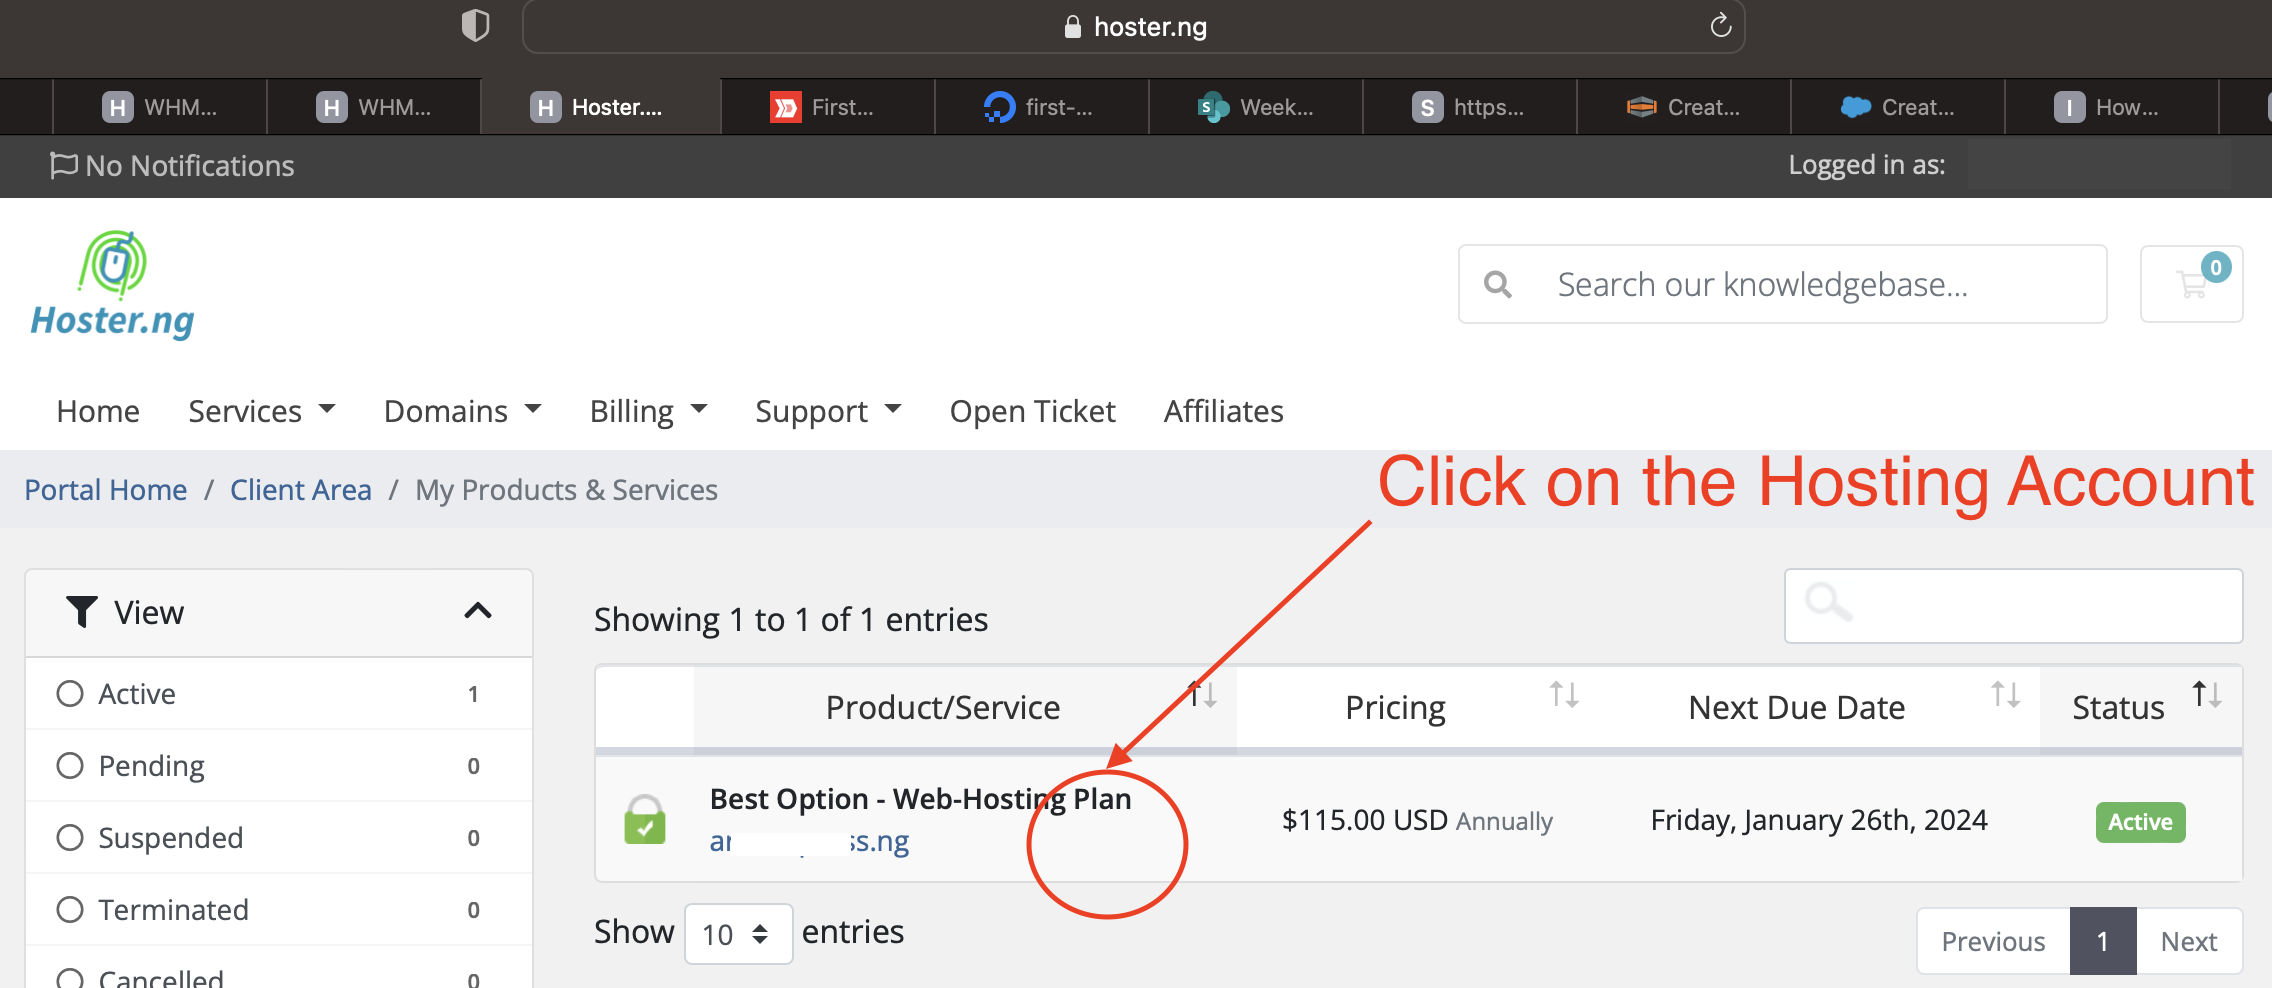
- On Services Page where all list of the hosting accounts you have are, select the Web Hosting account where you want to login into. This will take you to the hosting account details page.
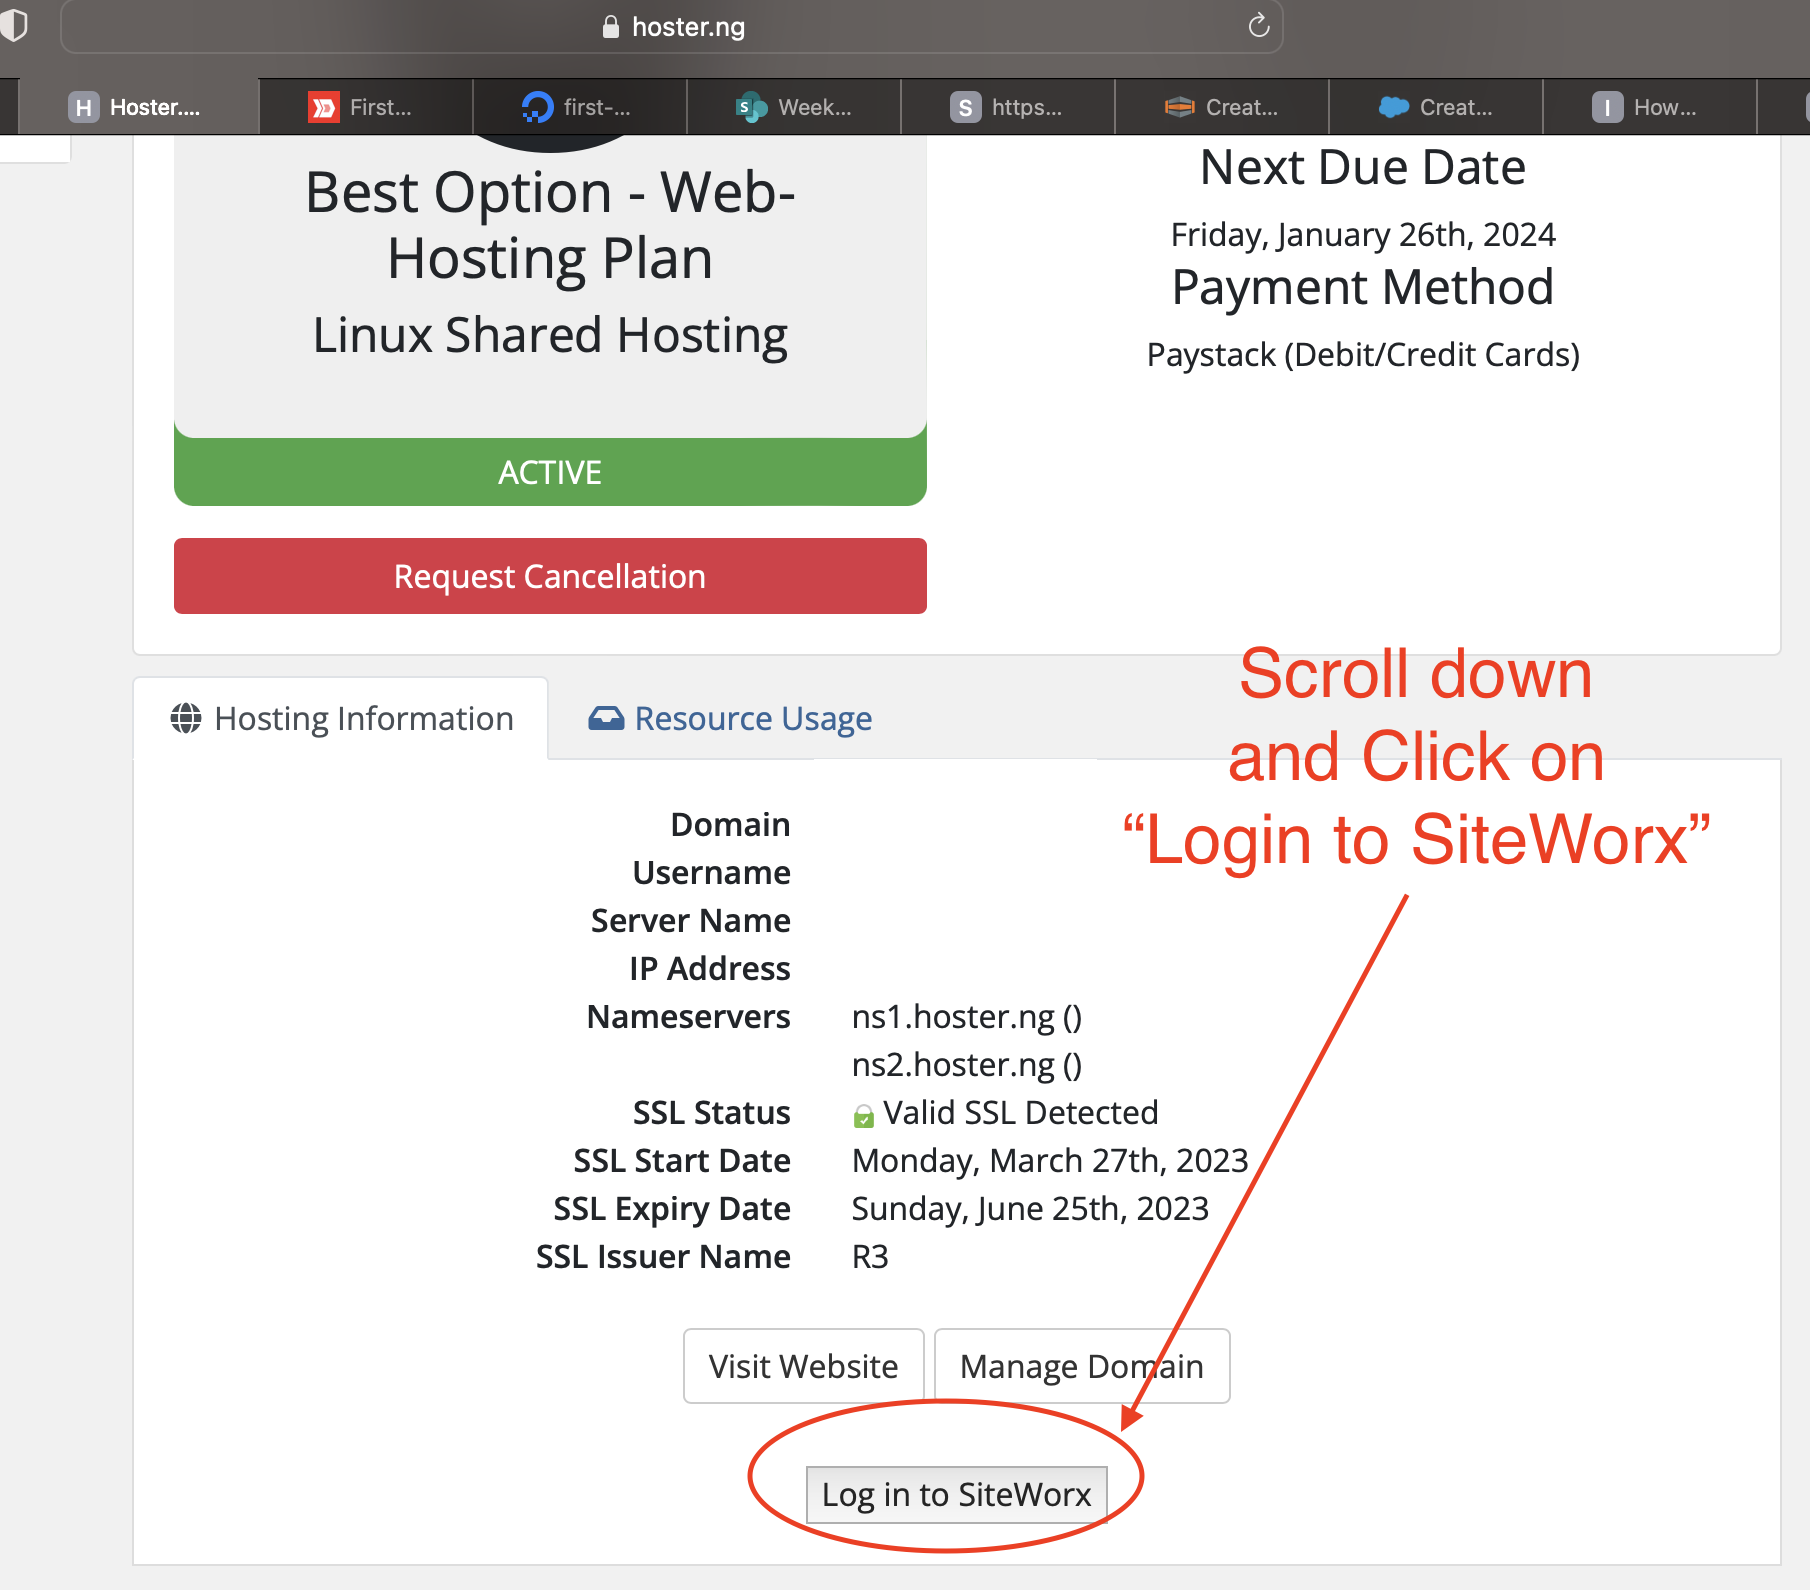
- On the Hosting Details Page, scroll down and then click on a button that reads "Login to Siteworx". This will take you to the Hosting Admin Panel where you will be able to create Emails and sent other admin options
- The picture below shows how the Hosting Admin Panel looks like on a desktop screen. It has all the options you may want to use to administer your hosting account. Like Emails, Domains, FTP & Online File Manager, MySQL Databases, Backups etc.